Tuesday, September 24, 2013

Red and White Stars Quilt is Finally Finished!

I am so excited to share this quilt. It has been a work in progress for quite a while, but it is now finished, and I think it probably ranks up there with one of the best I have. Which is in no small part due to the amazing quilting work on this one. It was too big to do the quilting on my small machine, so I hired out the long-arm work to a close friend of mine, who is actually my biggest quilt mentor. If you like her work and are interested in hiring her, just leave a comment on this post letting me know and I will get your contact info and connect you.

 When I started this quilt, I was still really new with triangles, so this was a great quilt to work with triangles.
And strips. Fortunately I am an old hand with strips. This quilt had over 60 of these lovely little strips. What I don't have is a photo of the 160 1"x1" red squares. I didn't take a photo of them because by the time I finished cutting them, I never wanted to see them again!

 The quilt came together beautifully. The picture above is the flat top that I had finished at a quilt retreat in Spring of this year. Then I discovered that the finished dimensions were big enough that it was not going to fit in my little machine for the finish quilting. That is where Chris stepped in to save my bacon! She took care of the long-arm quilting and she did an amazing job. I am not sure I emphasized that enough. She did an AMAZING job.

 So here is the finished quilt, spread out on my couch where it will get plenty of good use!

 Here is a close-up of the quilting in the squares. It is really intricate and gorgeous, and it makes the details really pop.

 For the outer border, she had a nice flowered design done in variegated thread. It turned out perfect! It was so nice, I even hand-stitched the binding (with some blood, sweat and tears contributed by my Mom - thanks Mom!).

 Here is a quick picture of the back and front together. I love the color combos. I am contemplating making this pattern again with a cream and black. I think it might end up looking like an Italian tile floor. I think it will be awesome!

 And one more picture of the amazing quilting done on this piece. I wish I had better picture quality. I can't say enough about the quilting! Thank you, Chris, for your incredible work!

Tennis Themed Tissue Packets

Every year the tennis club that I belong to hosts a National Senior Women's Tournament. Ladies come from all over the US to play singles and doubles in age categories for 70's, 80's, and 90's. It is very inspirational to watch all the tennis and to see how well these ladies are still moving. Since our club hosts the tournament, we provide gift bags to all the players. People donate items that promote their business, or sometimes things that are just nice for the players. We get water bottles, granola bars and candy snacks, pens, paper, things like that. This year, I am donating tennis themed tissue holders.

These small packets hold one pocket-sized tissue pack, are refillable, and are just a fun little item. I also sell them on my Etsy Shop, SwissMissStitches.

 I started with this really fun fabric with the colorful tennis theme.

 Each pouch starts as a rectangle of fabric approximately 6.5"x 5.5". I hemmed both short ends of the rectangle. I used red thread because it was FUN. And I like red. And I think it looks cute.

Once the short edges were hemmed, I folded the rectangle with right sides together so that the edges would form an opening in the middle.

Then I sewed up both sides, making sure to reinforce the corners and the opening so that it wouldn't pull apart when I put in the tissue packet.

When it is all sewn together, you flip it right side out, and VOILA! You have a tissue packet holder.

 When you insert the tissue, I recommend using the packets that open in the center, not on the ends. You will see that the tissue holder has a thin opening that is perfect for extracting the tissue!

And here is a lovely shot of all 50 of the tissue holders that I made for the tournament. I hope the ladies enjoy them as much as I enjoyed making them!

If you would like to purchase one, they are available at my Etsy Shop, or you can custom order a number of them for your own event, with the fabric colors, themes, patterns, etc., all being totally customizable to your need.

Thursday, September 19, 2013

Smokey Black Bean Soup

For some reason we always have a ridiculous quantity of black beans in our pantry. Every time we go to the store, we buy a couple of cans of black beans. But we rarely use them. Not sure why. Every once in a while Mike will make this AWESOME dip using the black beans, but mostly they just hang out in the pantry. I finally got inspired to use them, though, after seeing this recipe online. I found it on www.food.com, and for once, I actually changed very little. I swapped olive oil for the vegetable oil, and I left out the green pepper, since I am still off nightshades with the diet. And I might have added a little more carrot than it called for. But other than that, followed it really closely!

The official name of the soup, according to Food.com, is T.G.I. Friday's Black Bean Soup. Well I have never had TGIF's black bean soup, so I can't vouch for whether or not this is the real deal, but I will tell you it is pretty darn tasty, healthy, and the smokey flavor is really wonderful!

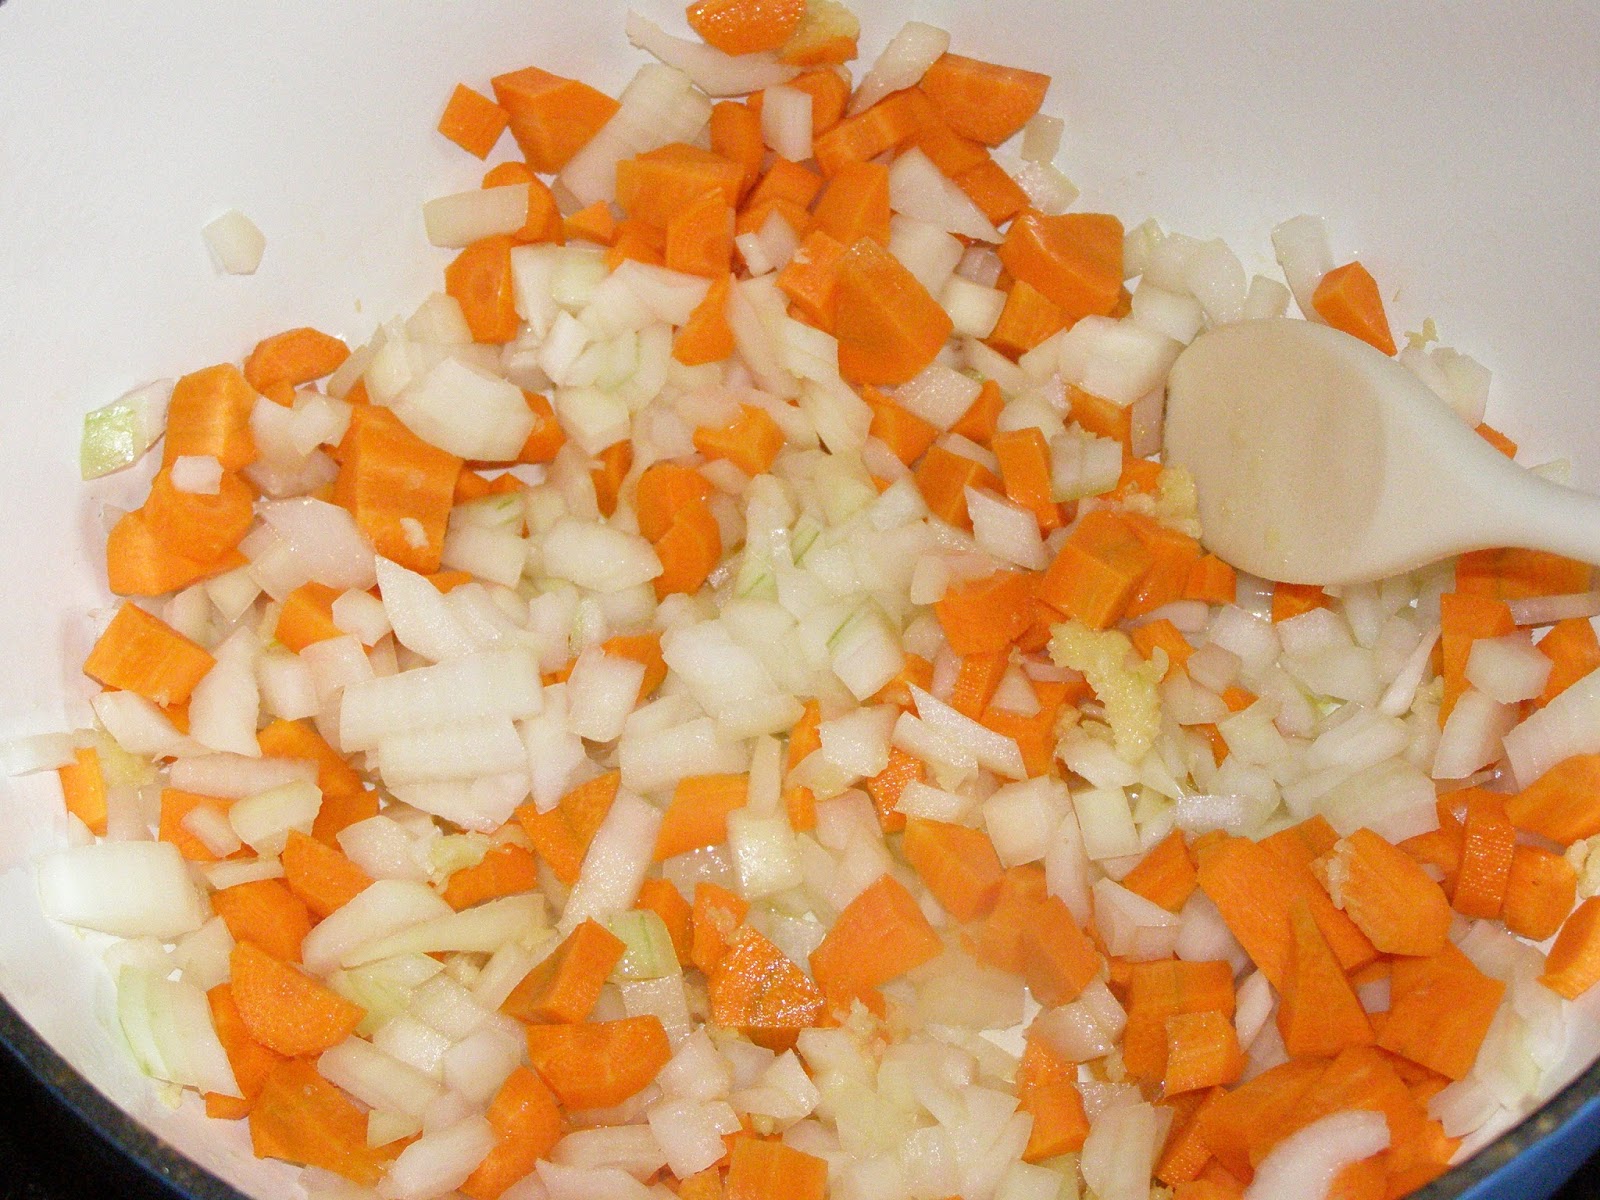
 So you start with the onions, carrots, celery and garlic. I used my dutch oven for this because, well, I love my dutch oven and I don't really need any more reason than that, do I?

 I pureed a few cups of the beans and put the rest in whole, and added all the other ingredients, just like the recipe said.

Brought it to a boil, simmered for almost an hour, and it was awesome!

 I added avocado to mine (since that is within the Anti-Inflammatory Diet I am on). Mike added cheese and sour cream to his.

The original recipe can be found here, or you can use my adjustments as indicated below:

Smokey Black Bean Soup

Ingredients:

2 Tbsp Olive Oil
1 onion, diced
1 cup of diced carrot
5 Garlic cloves, minced
4 cans of Black Beans ***if you are following an Anti-Inflammatory Diet, I recommend using Bush's Brand beans. Other brands are often canned with sugar, and Bush's beans are sugar free.
4 Cups of Chicken Stock
2 Tbsp Apple Cider Vinegar
2 tsp Chili Powder
1/2 tsp Cayenne Pepper
1/2 tsp Cumin
1/2 tsp Salt
1/2 tsp Hickory Liquid Smoke

Heat 2 tablespoons of oil in a large saucepan over medium/low heat.

Add onion, celery, carrot, and garlic to the oil and saute slowly (or"sweat" as it's called), for 15 minutes or until the onions are practically clear.

While you cook the veggies, pour the canned beans into a strainer and rinse them under cold water.

Measure 3 cups of the drained and strained beans into a food processor with 1 cup of chicken stock. Puree on high speed until smooth.
When the veggies are ready, pour the pureed beans, the whole beans, the rest of the chicken stock, and every other ingredient in the list (down to liquid smoke), to the pot.

Bring mixture to a boil, then reduce heat and simmer uncovered for 50 to 60 minutes or until soup has thickened and all the ingredients are tender.

Wednesday, September 18, 2013

Paleo Energy Bites and an Anti-Inflammatory Update!

As promised in the last post, I have a recipe to share today.This recipe is Paleo, Anti-Inflammatory Diet friendly, and freaking delicious! The Anti-Inflammatory Diet has certainly been doing the trick. I have been following this diet very strict for the past 5 weeks. At my last appointment with my Naturopath she announced all of the Rheumatoid Arthritis markers that I was displaying at the beginning of this journey are completely gone. The swelling is down, I am not suffering from joint pain, headaches, nosebleeds, fatigue, upset stomach, cramping, choking, vomiting... I am feeling downright human again! So we have strong reason to believe that my symptoms were all due to an allergy. And the side benefit of this diet? I have lost an average of 3 pounds per week for the entire time I have been following the diet.

Next week will get a little bit tricky since that is when I slowly start to add foods back in and we look for any type of reaction. To be honest, I am almost afraid. I feel so good right now that I don't want to do anything to mess it up! But Mike had a really good point: if I eat something that makes me feel bad, don't eat it anymore. I know, total no-brainer, but I guess I really did need somebody to point that out to me.

Okay, enough chat... let's get on with this recipe thing already. Geez. So I picked this recipe to make because I was discovering that any prolonged activity (like a 20 mile bike ride, 3 hours of tennis, pickleball then tennis after, etc.) was completely depleting my stores of energy. I need to recondition my body to still be able to sustain itself while doing sports without the huge quantities of carbohydrates and sugar I was ingesting before. But in the meantime, to keep from bonking and taking naps on the tennis court, I decided to make some Anti-Inflammatory Diet friendly Energy Bites. These are also Paleo, if you happen to be following that diet.

 This recipe uses oats, almonds, unsweetened coconut, peanut butter, honey, and vanilla extract.

 I pulsed the oats in the food processor to make them smaller and easier to combine.

Pulsed oats.

 
 I put all of the ingredients in a large mixing bowl. It made a giant goopy mess.

 And then I played with it. The easiest way to make sure that it all gets evenly combined is to use your hands. And then you are a giant goopy mess, too. But you have to admit, it is fun being that sticky and sweet.

Chill the mixture in the refrigerator for at least 30 minutes to make it easier to work with.

Then roll the mixture into 1-inch balls. It made about 55 for me, but I will admit that not all of my energy bites were of uniform size, so you can anticipate this making about 50 bites. Store them in the refrigerator. They will keep for a little over a week.

Paleo Energy Bites

Ingredients:

2 Cups Old Fashioned Oats
1 1/2 Cups Coconut Flakes, Unsweetened
1 Cup Peanut Butter
1 Cup Almonds, chopped
2/3 Cup Honey
2 tsp. Vanilla Extract

Place the oats in the food processor and pulse until they are broken up.

Combine all ingredients in a large mixing bowl and use your hands to work it all together until it is well combined. Chill in the refrigerator for 30 minutes. Roll into 1-inch balls and store in the refrigerator.

Nutrition Information:

Per Energy Bite:
Calories -88
Carbohydrates - 9 g
Fat - 5 g
Protein - 2 g

Tuesday, September 17, 2013

Rose Cross Stitch - Another UFO Off the List!

I realize I have been a bit quiet lately, but I have been awfully busy researching my Anti-Inflammatory Diet (going really well, thanks for asking!) and will be posting a recipe or two on that this week, as well as a full update on how it is going.

I have also been working, traveling, playing with nephews, and finishing another project, so I can mark that off the UFO list!

I just finished a rose cross stitch I started back in high school. Yes, actually, that long ago. It has been sitting in the UFO bag for a long time because as it turns out, I am not really a "flower" kind of girl. But I dug it out last month and finished it last week.
Rose Cross Stitch
The finished design is 6"x8", so it would fit perfectly in an 8"x10" frame with matting. It is on white 16-count aida cloth, and I am sad to say that the pictures really don't do the colors justice. It pops a lot more when you see it in person.
Close up of the stitching.

I posted this one to my Etsy shop in hopes that someone who is a "flower" kind of person might want it. If you are interested, you can see the listing here:
https://www.etsy.com/listing/162999628/rose-cross-stitch?ref=shop_home_active

Stay tuned for some more Anti-Inflammatory Recipes coming this week!